Table Of Contents
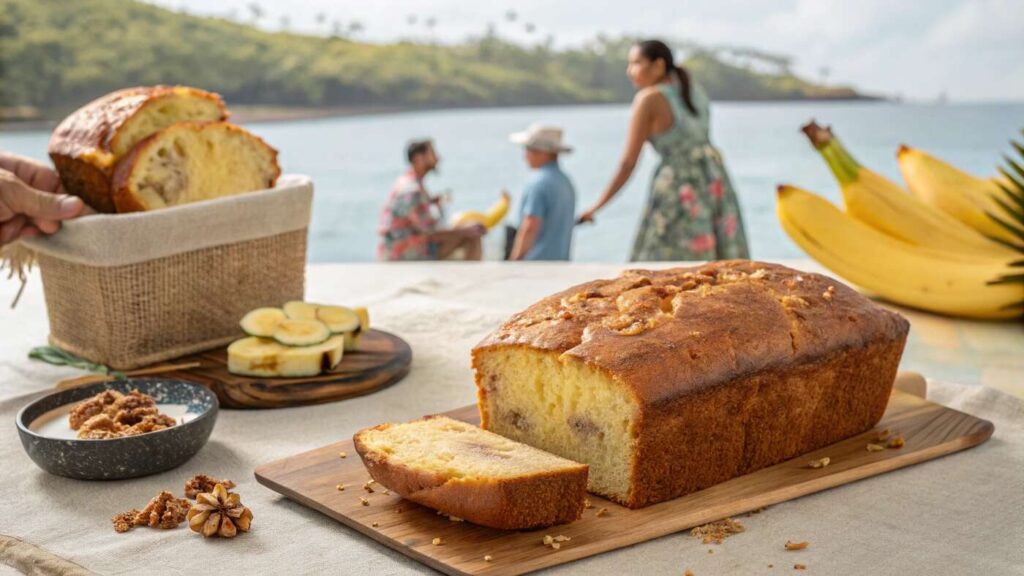
Have you ever bitten into a slice of banana bread and thought, “This could use a tropical twist”? Well, Hawaiian banana bread is here to take your taste buds on a vacation! Combining classic banana bread with the vibrant flavors of coconut, pineapple, and nuts, this recipe will make you feel like you’re lounging on a Hawaiian beach. Ready to dive in? Let’s explore how to make this tropical delight step by step.
Why Hawaiian Banana Bread is Irresistible
Hawaiian banana bread is more than just a dessert—it’s an experience. It’s like regular banana bread went on a Hawaiian getaway and came back with a fresh, zesty vibe. This recipe combines the sweetness of ripe bananas with the tangy goodness of pineapple and the nutty crunch of macadamias or walnuts. The addition of shredded coconut takes it over the top, making it a must-try for anyone who loves tropical flavors. Trust me, once you bake it, your kitchen will smell like paradise! 🌴
The Origins of Hawaiian Banana Bread
You might be wondering, where did this magical recipe come from? Banana bread has been a household favorite for decades, but Hawaiian banana bread takes inspiration from the islands’ abundant tropical fruits. It’s believed to have originated as a creative way to use overripe bananas while incorporating locally grown ingredients like pineapple and macadamia nuts. The result? A rich, moist, and utterly delicious bread that’s perfect for any occasion.
What Makes Hawaiian Banana Bread Different?
The secret lies in its unique blend of flavors and textures. While regular banana bread focuses solely on bananas, Hawaiian banana bread ups the ante with a mix of crushed pineapple, coconut flakes, and sometimes even a hint of lime zest. It’s like banana bread got a fun personality upgrade! 🏝️
Step 1: Gather Your Ingredients
Before diving into the mixing bowl, it’s essential to have all your ingredients ready. Here’s a handy table to keep things organized:
| Ingredient | Quantity |
|---|---|
| Ripe bananas | 3 medium (mashed) |
| Crushed pineapple (drained) | 1 cup |
| Shredded coconut | 1/2 cup |
| All-purpose flour | 2 cups |
| Sugar | 3/4 cup |
| Eggs | 2 large |
| Vegetable oil | 1/2 cup |
| Vanilla extract | 1 teaspoon |
| Baking soda | 1 teaspoon |
| Salt | 1/4 teaspoon |
| Macadamia nuts (optional) | 1/2 cup (chopped) |
Perfect Lobster Tail Pastry: An Italian Dessert You’ll Love
Pro Tip: Use bananas that are super ripe—the ones with brown spots are the best. They’re sweeter and easier to mash!
Substitutes for Healthier Variations
If you want to make this recipe a bit healthier, here are some easy swaps:
- Use whole wheat flour instead of all-purpose flour.
- Swap sugar for honey or maple syrup for natural sweetness.
- Replace vegetable oil with unsweetened applesauce to reduce fat content.
Tools You’ll Need
Having the right tools can make or break your baking experience. Here’s what you’ll need:
- Mixing bowls (at least two)
- Measuring cups and spoons
- A whisk or hand mixer
- A loaf pan (9×5 inches works best)
- Parchment paper (for easy cleanup)
Step 2: Preparing the Perfect Batter
Now that you’ve gathered your ingredients and tools, it’s time to whip up the batter. This is where the magic happens! ✨
The Role of Ripe Bananas
Start by mashing your bananas in a mixing bowl. They should have a pudding-like consistency. Bananas not only add sweetness but also help keep the bread moist. Think of them as the glue that holds everything together!
Incorporating Coconut, Pineapple, and Nuts
Add the drained crushed pineapple, shredded coconut, and chopped nuts to the mashed bananas. These ingredients give the bread its signature Hawaiian flair. Mix them gently—you want these flavors to pop in every bite.
Mixing Techniques for a Perfect Texture
In a separate bowl, whisk together your dry ingredients: flour, sugar, baking soda, and salt. Slowly combine the wet and dry ingredients, being careful not to overmix. Overmixing can make the bread dense, and nobody wants that! Fold everything together just until combined. The batter should be thick but pourable.
Remember: “Less is more” when mixing the batter. Treat it like a delicate dance, not a wrestling match! 🕺
Step 3: Baking Like a Pro
Pour the batter into a greased or parchment-lined loaf pan. Smooth the top with a spatula and get ready to bake!
How to Preheat and Set Your Oven Correctly
Preheat your oven to 350°F (175°C). This ensures your banana bread bakes evenly. A cold oven is like starting a race late—you’ll never catch up!
Choosing the Right Baking Pan
Using a non-stick or glass loaf pan is ideal. If you’re doubling the recipe, make sure to use two pans instead of one larger one to maintain the baking time and consistency.
Tips for Evenly Baked Banana Bread
Bake the bread for 50–60 minutes or until a toothpick inserted into the center comes out clean. If the top browns too quickly, cover it loosely with aluminum foil. And whatever you do, resist the urge to open the oven door too often—it’s like letting heat escape from a sauna!
Bonus Tip: Let the bread sit in the pan for 10 minutes after baking before transferring it to a wire rack. This keeps it from falling apart.
Step 4: Cooling and Serving
Congratulations! Your Hawaiian banana bread has baked to perfection, and your kitchen smells like a tropical paradise. But before you dive in, let’s talk about cooling and serving it the right way. Patience is key here—trust me, it’ll be worth it! 🍌🍍
The Right Way to Cool Banana Bread
Once you’ve taken the bread out of the oven, let it rest in the loaf pan for about 10 minutes. This allows the bread to firm up slightly, making it easier to remove from the pan. After that, carefully transfer it to a wire rack to cool completely. Cooling it on a wire rack ensures that the bottom doesn’t get soggy from trapped steam.
Pro Tip: Don’t slice the bread while it’s still warm. Slicing too early can make it crumble. Wait until it’s fully cooled for neat, even slices.
Creative Ways to Serve Hawaiian Banana Bread
There are so many delicious ways to enjoy this tropical treat. Here are a few ideas:
- Classic Slice: Serve it as is, paired with a cup of coffee or tea for a cozy snack.
- Tropical Toast: Lightly toast a slice and spread it with butter or cream cheese for extra decadence.
- Dessert Upgrade: Top a slice with a scoop of vanilla ice cream and a drizzle of caramel sauce. Pure bliss!
- Party-Ready: Cut the loaf into bite-sized cubes and serve them on skewers with fresh pineapple chunks and strawberries for a fun, tropical appetizer.
Get creative—there’s no wrong way to enjoy Hawaiian banana bread!
Step 5: Storing for Freshness
If you somehow manage to resist eating the entire loaf in one sitting, you’ll want to store it properly to keep it fresh. Here’s how:
Storing Banana Bread at Room Temperature
Wrap the loaf tightly in plastic wrap or store it in an airtight container. It’ll stay fresh for up to 3 days at room temperature. Make sure to keep it in a cool, dry place away from direct sunlight or heat.
Can You Freeze Hawaiian Banana Bread?
Absolutely! Freezing banana bread is a great way to make it last longer. Here’s how to do it:
- Let the bread cool completely.
- Wrap it tightly in plastic wrap, then again in aluminum foil to prevent freezer burn.
- Label the package with the date and freeze for up to 3 months.
When you’re ready to enjoy it, thaw the bread at room temperature for a few hours or overnight in the fridge. You can also reheat individual slices in the microwave for 10–15 seconds.
Reviving Banana Bread for Best Results
If your banana bread has been sitting for a while and seems a little dry, don’t worry! You can revive it by warming it up in the oven. Wrap the loaf in aluminum foil and bake at 300°F (150°C) for about 10 minutes. It’ll come out soft, warm, and just like freshly baked!
Common Problems and Their Solutions
Even seasoned bakers can run into hiccups. Here are some common issues with banana bread and how to fix them:
Why is My Banana Bread Too Dense?
This usually happens when you overmix the batter. Remember, less is more when it comes to mixing. Stir just until the ingredients are combined, and avoid overworking the gluten in the flour.
How to Prevent Banana Bread from Burning
If the top of your bread is browning too quickly while the inside is still raw, loosely cover it with aluminum foil during the last 15–20 minutes of baking. This prevents the top from burning while allowing the inside to cook through.
Troubleshooting Dry or Crumbly Bread
Dry banana bread can result from overbaking or not enough moisture in the batter. Always check your bread with a toothpick a few minutes before the suggested bake time. If it comes out clean or with a few crumbs, it’s ready to come out of the oven. Also, make sure to use very ripe bananas for maximum moisture.
Tips for Customizing Hawaiian Banana Bread
Feeling adventurous? Here are some ways to put your own spin on this tropical recipe:
Adding Chocolate Chips or Fruit Swirls
For a sweeter touch, fold in 1/2 cup of chocolate chips or swirl in some raspberry jam before baking. These little additions can make the bread even more indulgent!
Making it Gluten-Free or Vegan
To make the recipe gluten-free, swap the all-purpose flour for a gluten-free baking mix. For a vegan version, replace the eggs with flaxseed meal mixed with water and use coconut oil or applesauce instead of vegetable oil. The result? A loaf everyone can enjoy!
Enhancing the Flavor with Spices
Spices like cinnamon, nutmeg, or even a pinch of cardamom can elevate the flavors of your banana bread. Sprinkle some cinnamon sugar on top before baking for a lightly crunchy, flavorful crust.
Nutritional Benefits of Hawaiian Banana Bread
Here’s a quick look at the nutritional breakdown of a standard slice (based on the original recipe):
| Nutrient | Amount per Slice |
|---|---|
| Calories | 220 |
| Carbohydrates | 35g |
| Protein | 3g |
| Fat | 9g |
| Sugar | 15g |
| Fiber | 2g |
While it’s not exactly a low-calorie treat, Hawaiian banana bread does provide a good amount of fiber and natural sweetness from the bananas and pineapple. For a healthier option, try reducing the sugar or swapping in whole wheat flour.
Conclusion: Enjoying the Tropical Flavors of Hawaiian Banana Bread
And there you have it—a foolproof guide to making the most delicious Hawaiian banana bread! Whether you’re enjoying it fresh out of the oven or sharing it with friends and family, this recipe is sure to be a hit. So, go ahead and bake a loaf (or two)—you deserve a slice of paradise! 🌺
Print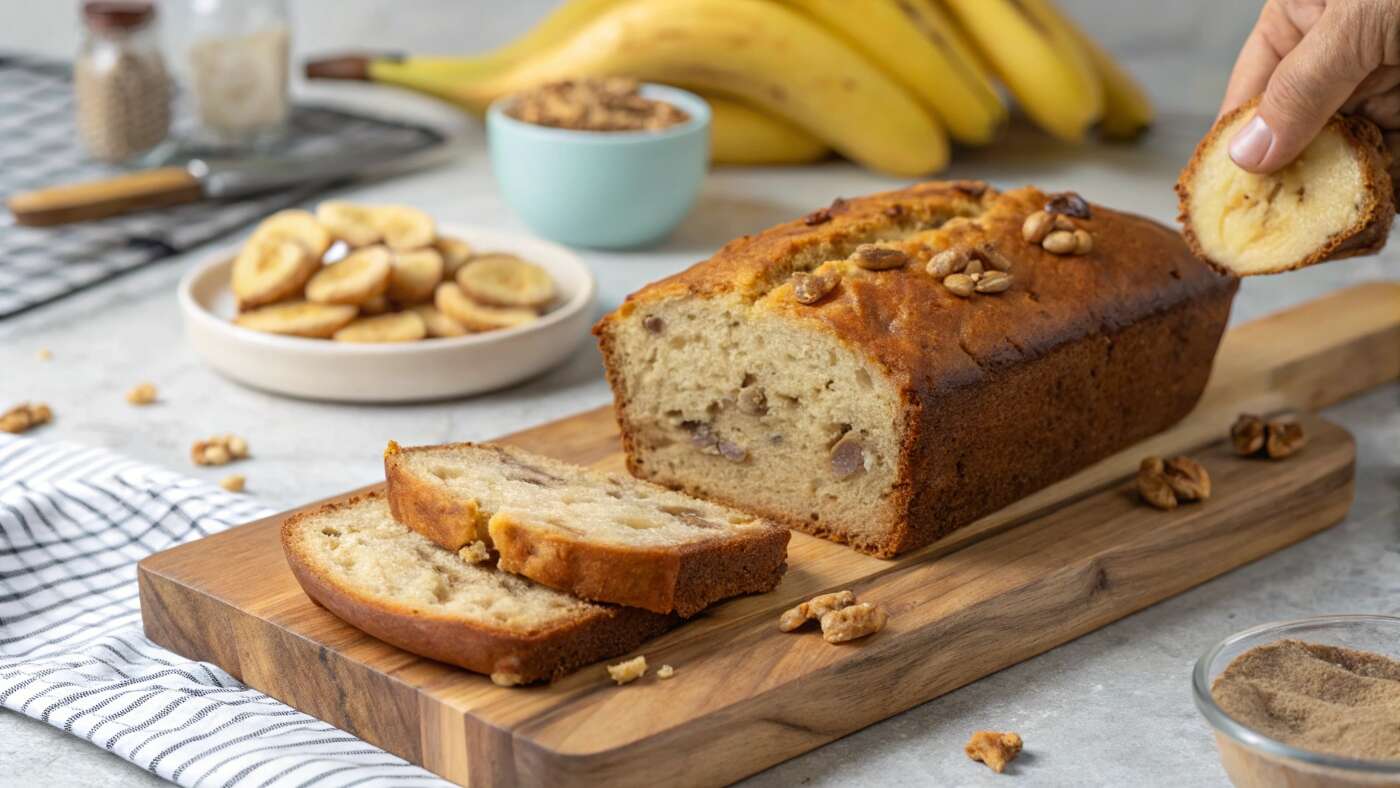
Hawaiian Banana Bread Recipe
Indulge in the tropical flavors of Hawaii with this moist and flavorful Hawaiian Banana Bread! This recipe takes the classic banana bread up a notch by adding crushed pineapple, shredded coconut, and macadamia nuts. The result? A delightfully sweet, soft, and nutty bread with just the right amount of tropical zing. Perfect for breakfast, a snack, or dessert, this banana bread will transport your taste buds straight to the islands!
- Total Time: 1 hour 5 minutes
- Yield: 1 loaf (8–10 slices)
Ingredients
- 3 ripe bananas, mashed
- 1 cup crushed pineapple, drained
- ½ cup shredded coconut
- 2 cups all-purpose flour
- ¾ cup granulated sugar
- ½ cup vegetable oil
- 2 large eggs
- 1 teaspoon vanilla extract
- 1 teaspoon baking soda
- ½ teaspoon baking powder
- ¼ teaspoon salt
- ½ teaspoon cinnamon (optional)
- ½ cup macadamia nuts or walnuts, chopped (optional)
Instructions
- Preheat the Oven: Preheat your oven to 350°F (175°C). Grease a 9×5-inch loaf pan or line it with parchment paper.
- Prepare the Wet Ingredients: In a large mixing bowl, mash the ripe bananas until smooth. Add the drained crushed pineapple, shredded coconut, eggs, vegetable oil, and vanilla extract. Stir well until combined.
- Mix the Dry Ingredients: In a separate bowl, whisk together the flour, sugar, baking soda, baking powder, salt, and cinnamon.
- Combine Wet and Dry Mixtures: Gradually add the dry ingredients into the banana mixture, stirring gently until just combined. Be careful not to overmix, as this can make the bread dense.
- Fold in the Nuts (Optional): If using macadamia nuts or walnuts, fold them into the batter for extra crunch and flavor.
- Bake the Banana Bread: Pour the batter into the prepared loaf pan and smooth the top with a spatula. Bake for 50–60 minutes, or until a toothpick inserted into the center comes out clean.
- Cool and Serve: Let the bread cool in the pan for 10 minutes, then transfer it to a wire rack to cool completely before slicing.
Notes
- 🍌 Use overripe bananas for the best natural sweetness and moisture.
- 🌴 Enhance the tropical flavor by adding a tablespoon of lime zest.
- 🍯 Make it healthier by swapping granulated sugar for coconut sugar or honey.
- ❄️ Freezing tip: Wrap individual slices in plastic wrap and freeze for up to 3 months.
- Prep Time: 10
- Cook Time: 55
- Category: Dessert, Breakfast, Snack
- Method: Baking
- Cuisine: Hawaiian, American
- Diet: Vegetarian
Nutrition
- Serving Size: 1 slice
- Calories: 220 kcal
- Sugar: 15g
- Sodium: 120mg
- Fat: 9g
- Saturated Fat: 3g
- Unsaturated Fat: 5g
- Trans Fat: 0g
- Carbohydrates: 35g
- Fiber: 2g
- Protein: 3g
- Cholesterol: 35mg
FAQs
Can I use frozen bananas for Hawaiian banana bread?
Yes! Just let the frozen bananas thaw and drain any excess liquid before mashing them.
How long does Hawaiian banana bread stay fresh?
It stays fresh for about 3 days at room temperature or up to a week in the refrigerator.
Can I substitute coconut sugar for regular sugar?
Absolutely! Coconut sugar works well and adds a slight caramel flavor to the bread.
What are the best nuts to use for this recipe?
Macadamia nuts are the classic choice, but walnuts and pecans work great too.
Is it possible to make mini-loaves instead of one large loaf?
Yes! Divide the batter into mini-loaf pans and reduce the baking time to 25–30 minutes.